Interacting with a Selector Object
Depending on its configuration, the Selector Object provides various interactive features, as described in the following paragraphs.
Any custom selection applied using a Selector Object will be lost if you leave the Screen or update it.
Pop-up window Selector
The Pop-up window Selector allows you to make selections through a dedicated pop-up window: it is particularly useful on Screens with limited space or when the associated Entity contains a large number of members.
To make a selection on a Pop-up window Selector proceed as follows:
- Click on the Entity name. A window listing all available Entity members appears.
The pop up window offers the same options as the Select configuration window. See Configure, edit, reset a Select for more details - Click on the desired Entity members. Depending on the Selector configuration, selected members can be highlighted with a blue tick or with a red "x"
- Click apply
To select consecutive members, select the first and Shift-click the last. You can also select them by clicking with the left mouse button and dragging over the desired members.
To reset the selection to the default state, click the reset selection icon (![]() ).
).
To reset the selection of multiple Selectors to the default state, you will need to click the reset selection icon (![]() ) on each of them.
) on each of them.
To clear the selection on all Objects on the Screen, including Selectors, open the Screen select window by clicking the Select icon ( ![]() ) in the Top Menu and click on the "RESET ALL" button in the lower left corner.
) in the Top Menu and click on the "RESET ALL" button in the lower left corner.
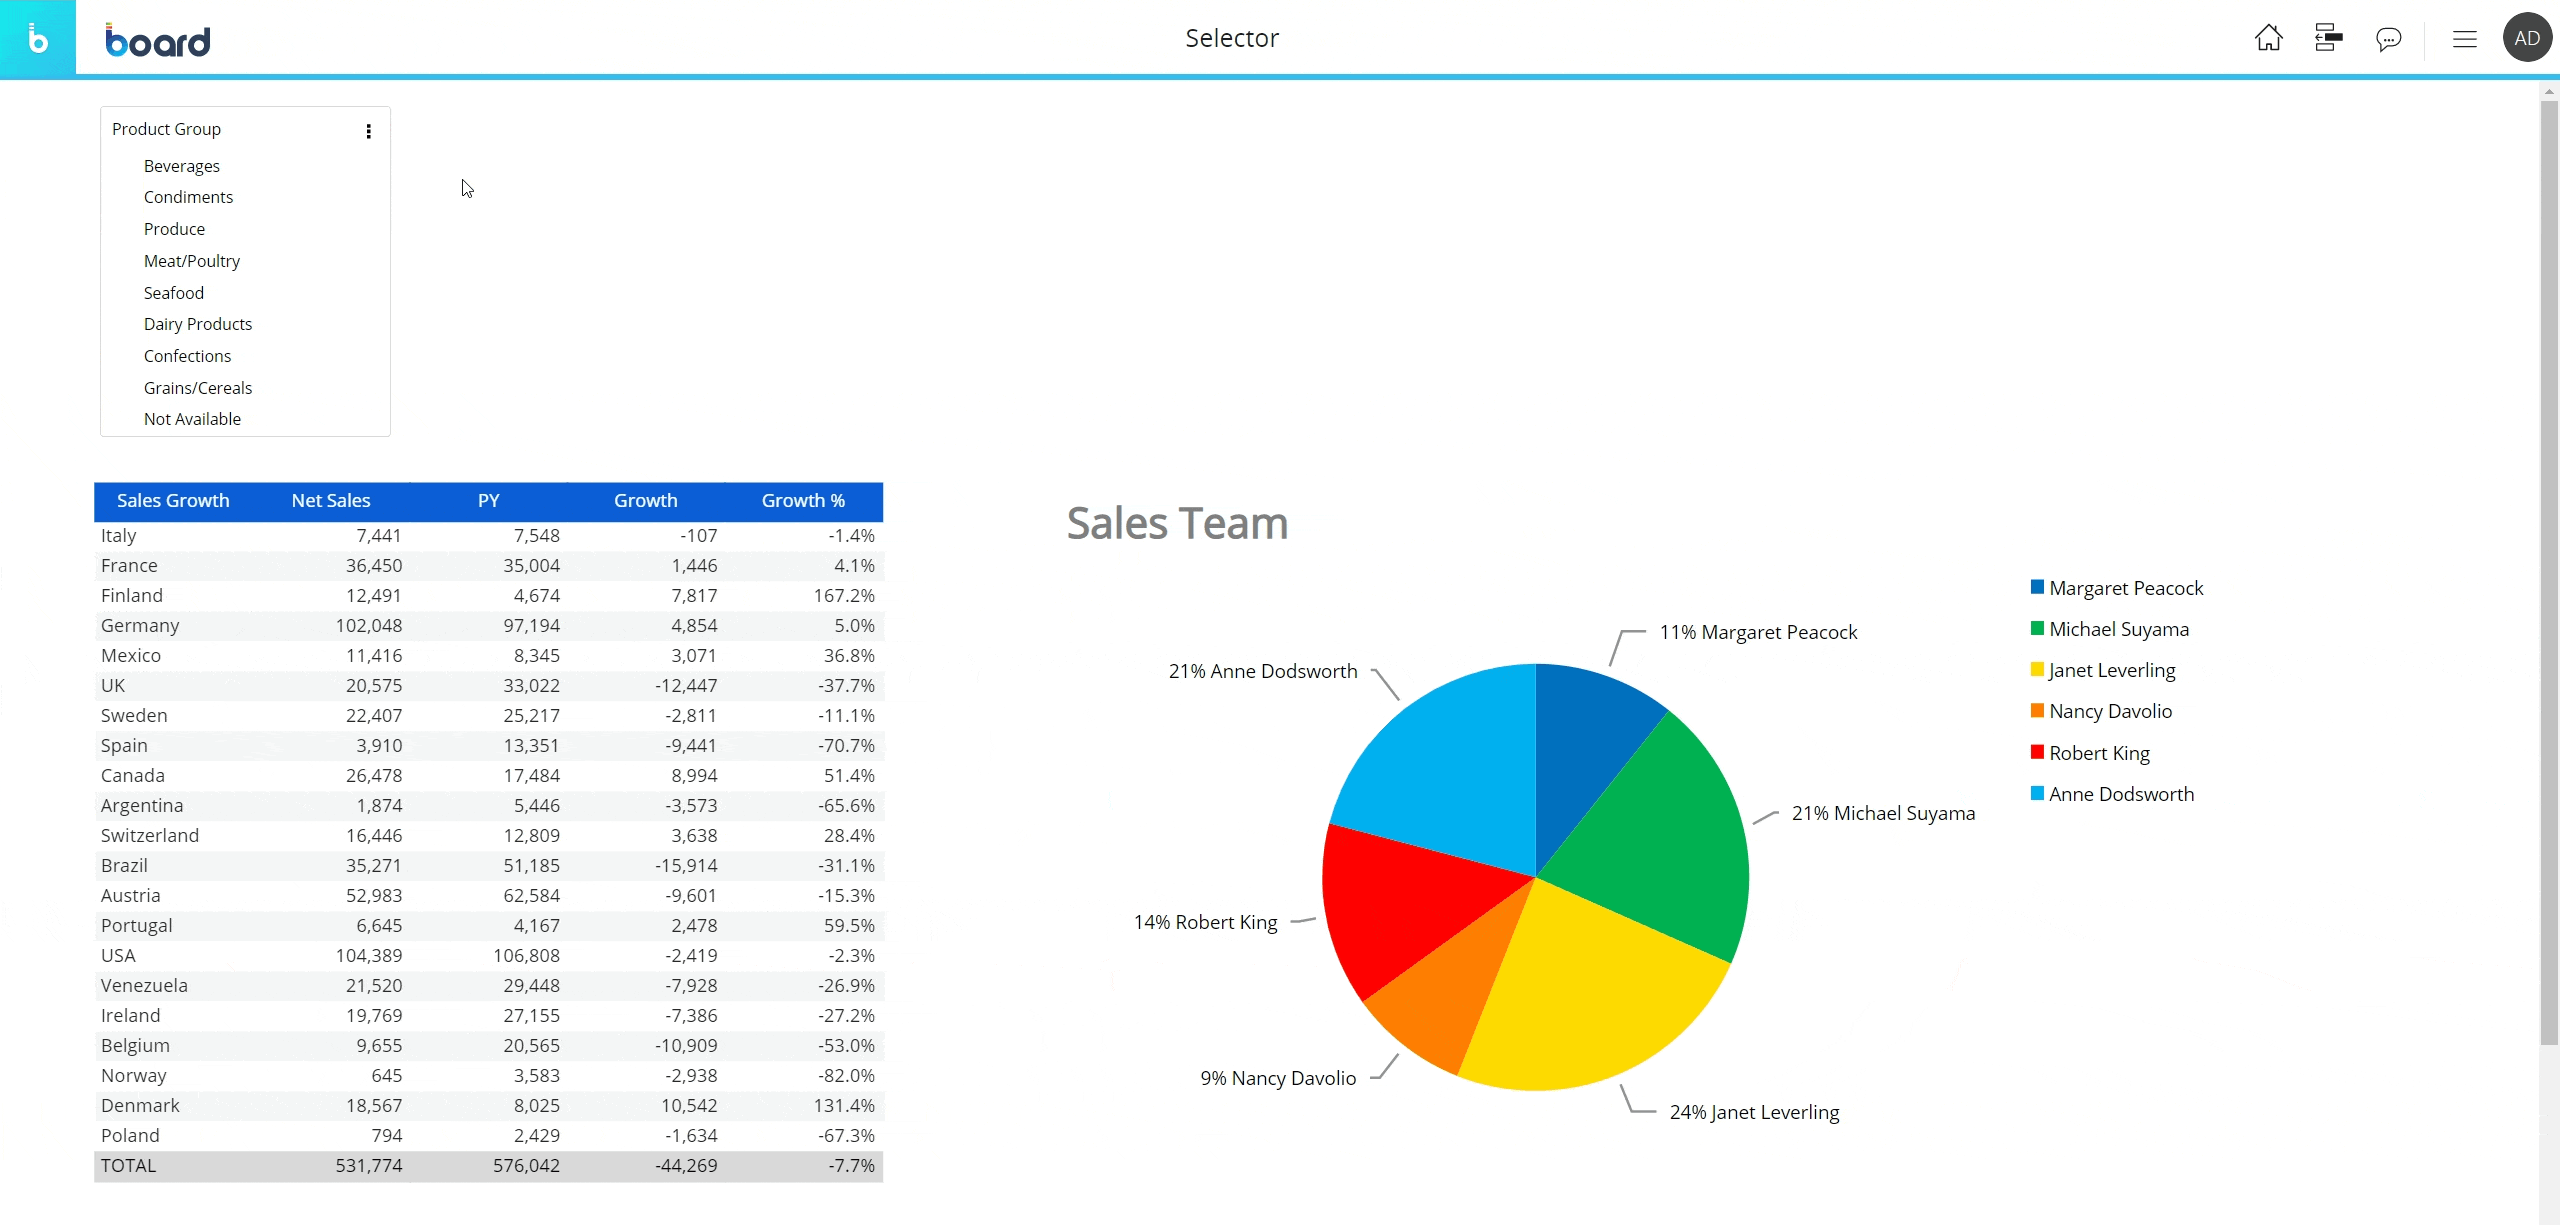
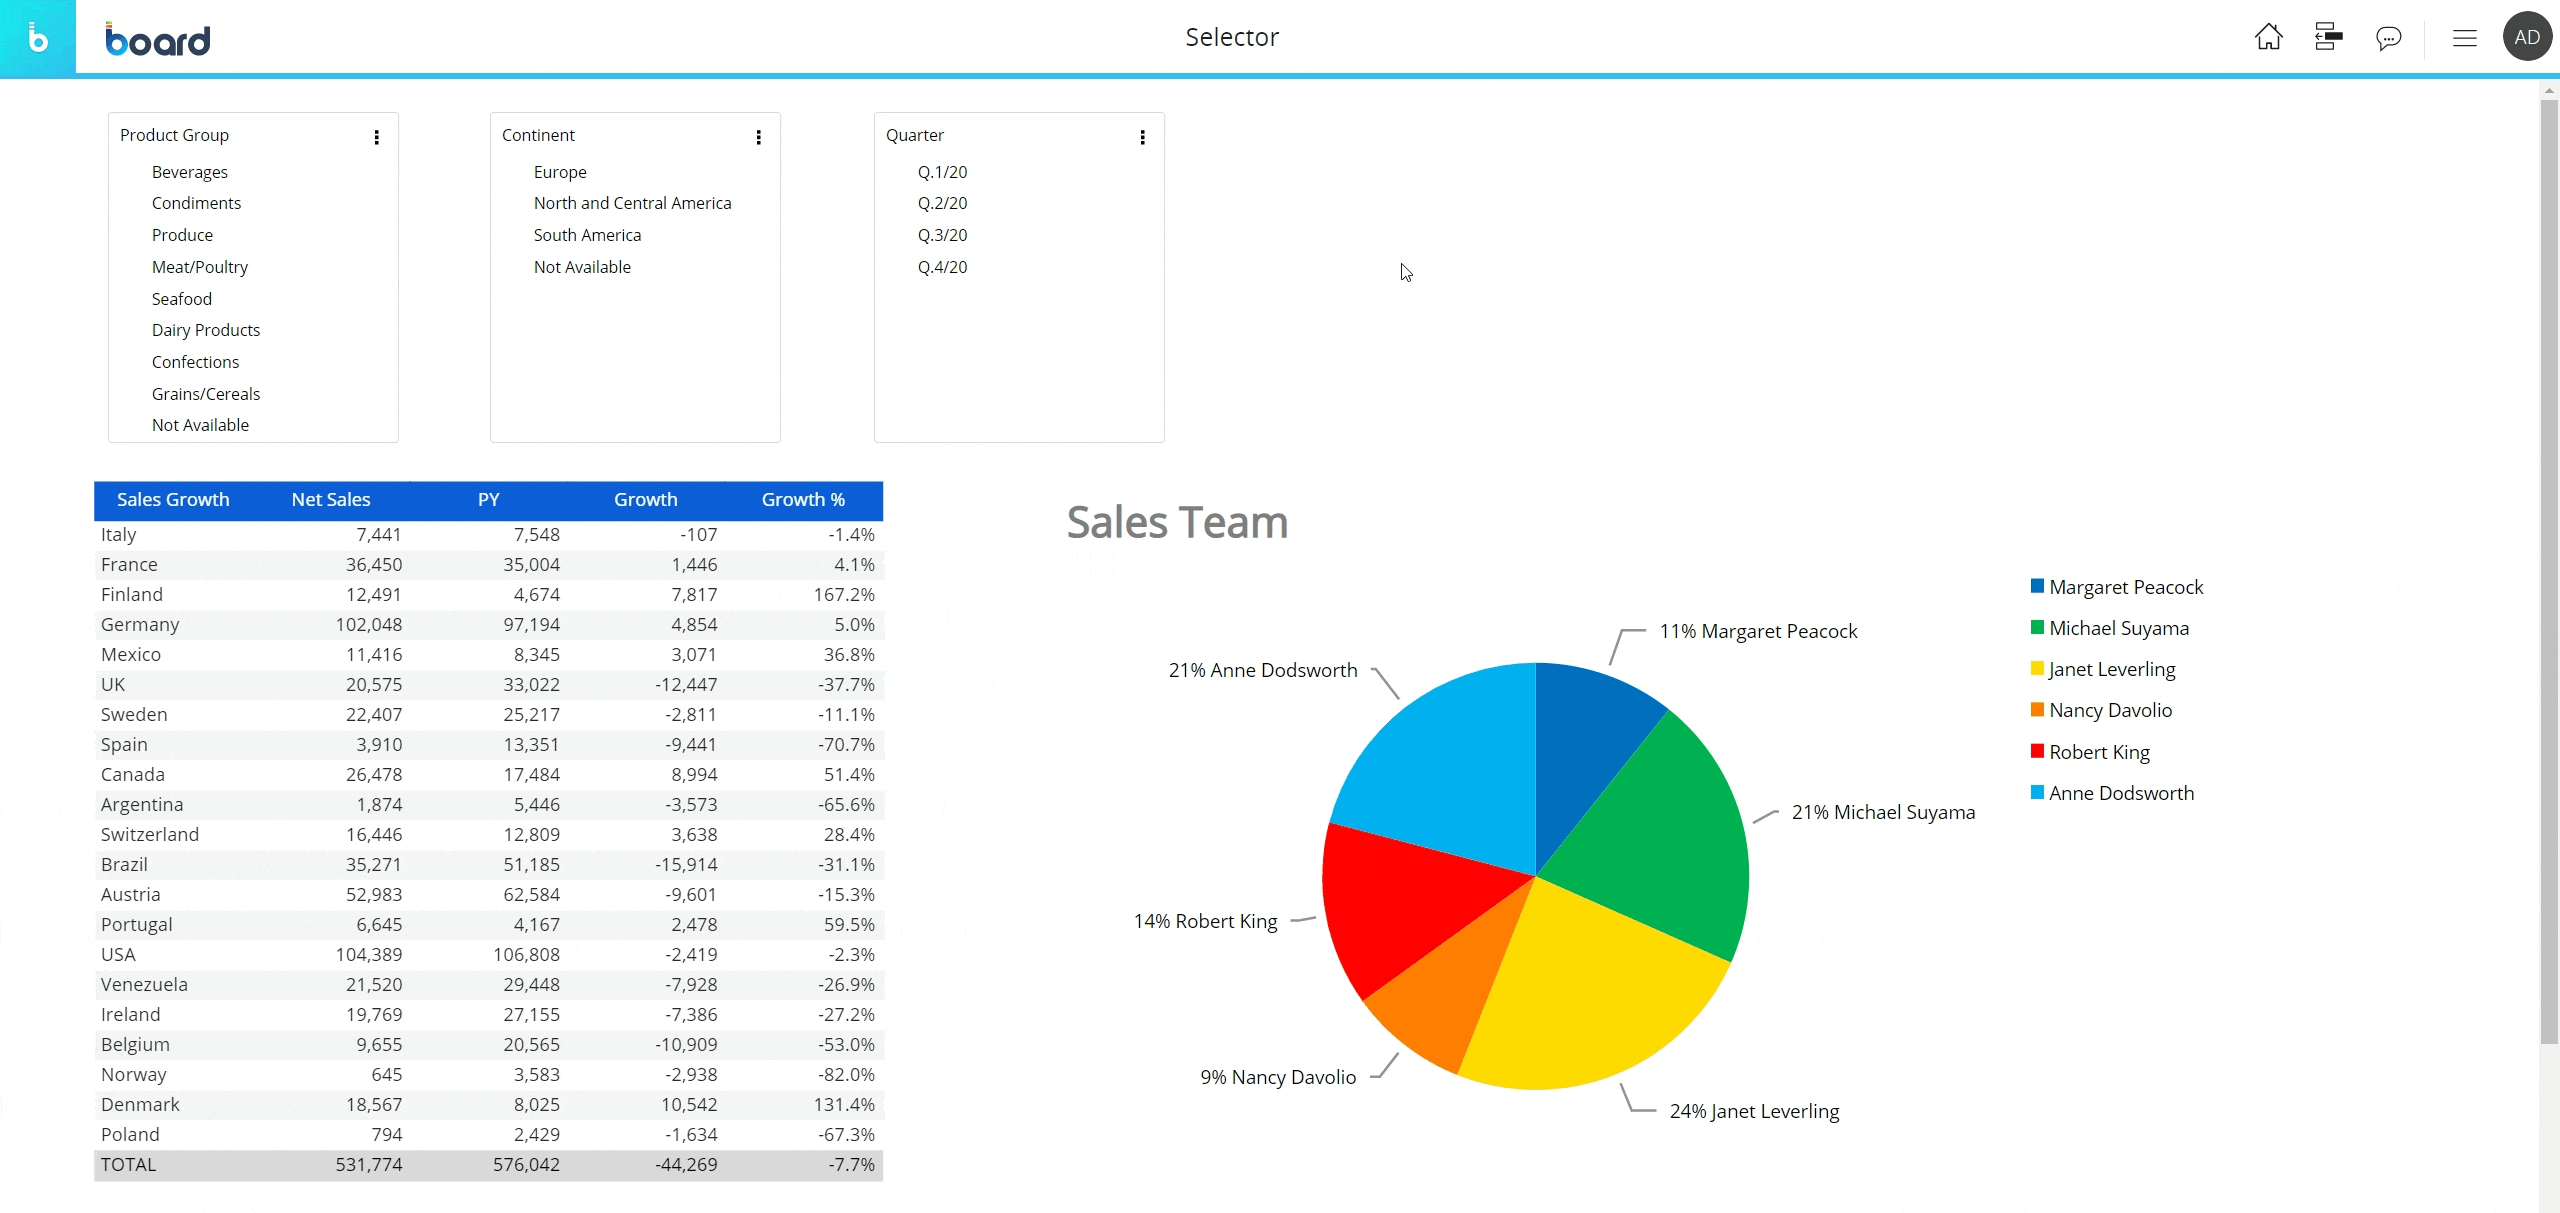
Vertical list Selector
The Vertical list Selector displays a vertical list of all Entity members and allows you to immediately make a selection with only a few clicks. Depending on its configuration, selected members can be highlighted with a blue tick or with a red "x".
To make a selection on a Vertical list Selector, simply click on the desired Entity members. By default, the selection is applied as soon as you click on each member: clicking on a new member will immediately update the data displayed by all other Objects on the Screen to reflect the current selection.
You can also make a selection on a single Entity member by clicking the blue circle icon (![]() ) that appears when hovering over each one of them: by doing so, you will automatically deselect all currently selected members and select only that single member.
) that appears when hovering over each one of them: by doing so, you will automatically deselect all currently selected members and select only that single member.
To reset the selection to the default state, click the reset selection icon (![]() ).
).
To reset the selection of multiple Selectors to the default state, you will need to click the reset selection icon (![]() ) on each of them.
) on each of them.
To clear the selection on all Objects on the Screen, including Selectors, open the Screen select window by clicking the Select icon ( ![]() ) in the Top Menu and click on the "RESET ALL" button in the lower left corner.
) in the Top Menu and click on the "RESET ALL" button in the lower left corner.
The search icon (![]() ) allows you to easily locate desired members in the list via the built-in search field. The feature is particularly useful when the associated Entity includes a large number of members.
) allows you to easily locate desired members in the list via the built-in search field. The feature is particularly useful when the associated Entity includes a large number of members.
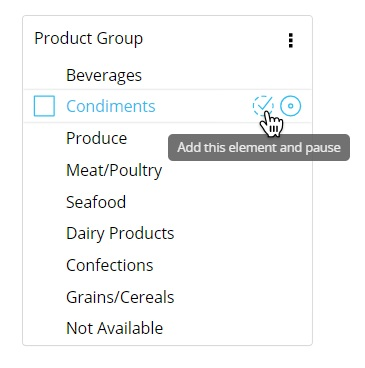
The Pause screen feature
You can also choose to configure a selection and apply it in one go, using the Pause screen icon (![]() ). This is particularly useful, for example, when you have a long list of members to choose from or when the Screen includes several Selectors associated with different Entities.
). This is particularly useful, for example, when you have a long list of members to choose from or when the Screen includes several Selectors associated with different Entities.
To configure and apply a selection using the Pause screen feature, proceed as follows:
- Hover over the Entity name and click on the Pause screen icon (
 ). The icon will change into a Play icon (
 ) on all Selectors on the Screen
 - Click on the desired Entity members, even on different Selectors. Depending on the Selector configuration, selected members can be highlighted with a blue tick or with a red "x"
- Click on the Play icon () on a Selector to apply the configured selection in one go. The selection will consider the configuration of all Selectors on the Screen
You can also activate the Pause screen feature by clicking the blue tick icon that appears when you hover over any given Entity member, as shown in the image below.
By hovering over the three dots icon in the top right of the Selector, you can configure a few Selector properties as shown in the following image and explained below:
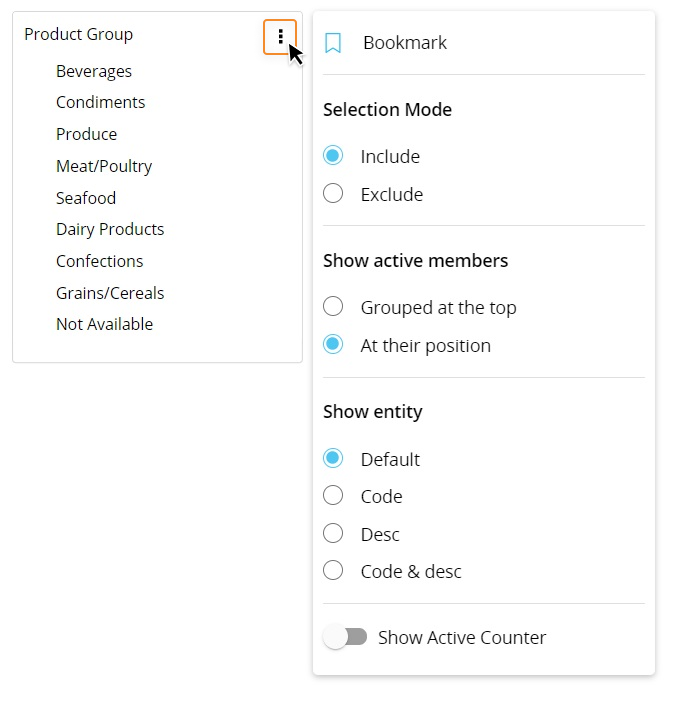
- Bookmark. Save your Selector configuration to your personal library of different Selects that can be saved and reused in Screens of the same Capsule. See Design and Play mode for more details
- Selection Mode. If you select "Include", only highlighted members will be included in the selection. If you select "Exclude", only non-highlighted members will be included in the selection
- Show active members. Defines how active members (i.e. members included in the selection) should be displayed, grouped at the top or in their position in the list. The "Grouped at the top" option set on the "Horizontal list" Selector type will show active members as first on the left hand side
- Show Entity. Defines which information about Entity members should be displayed: default, code, description or both
- Show active counter. Shows/hides the active members counter at the bottom of Selector. Example: 7/9
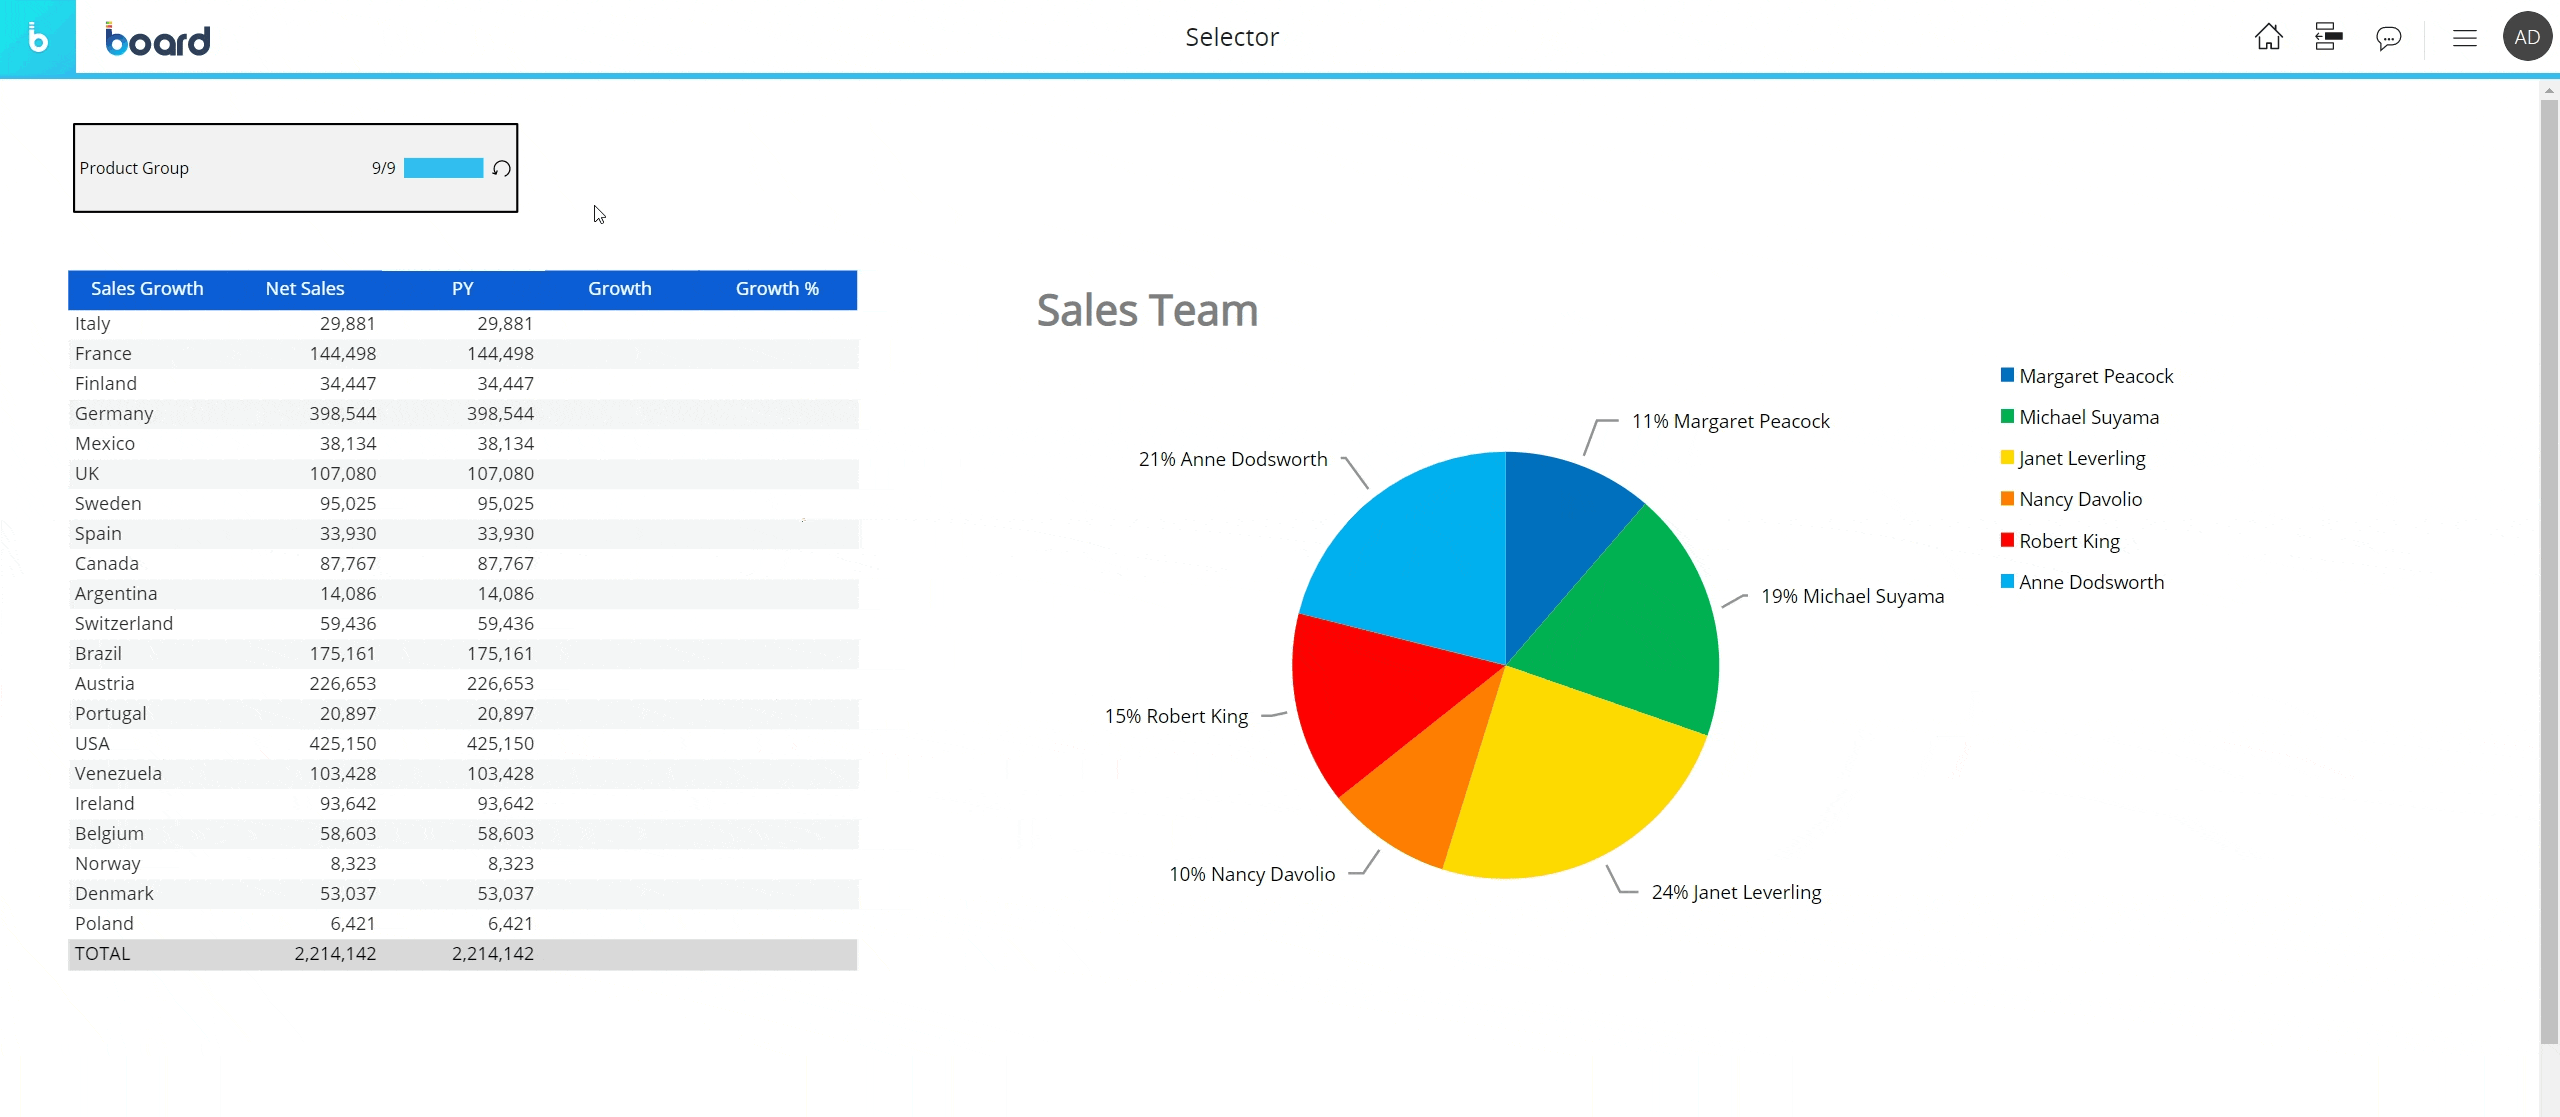
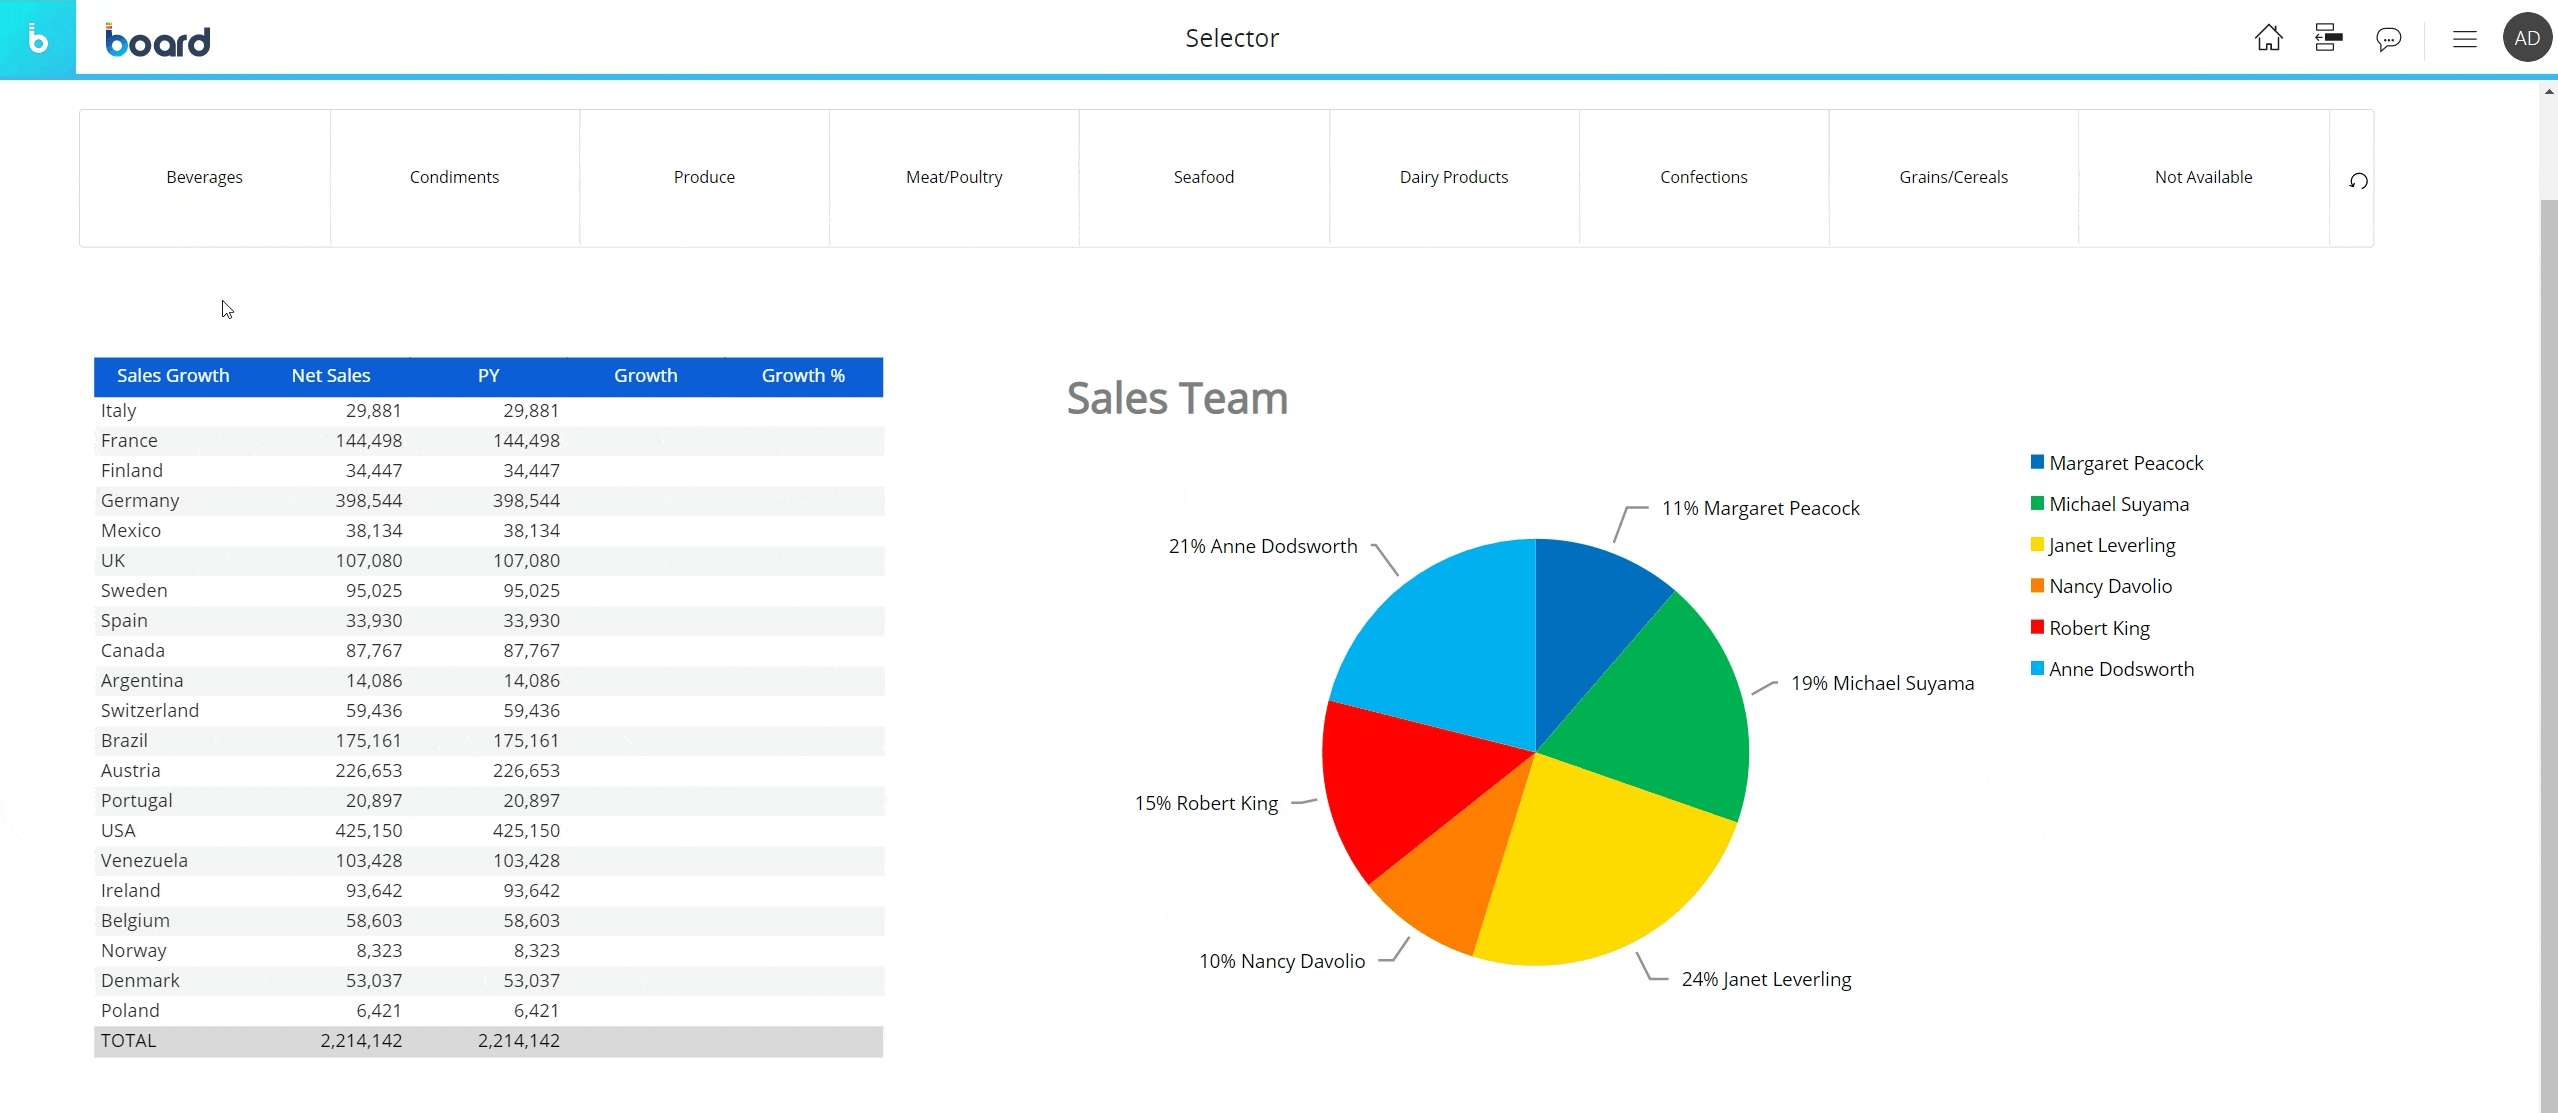
Horizontal list Selector
The Horizontal list Selector displays Entity members in an easy to use button-like interface. This type of Selector should be used on Screens with enough space to accomodate a "row" of buttons (members), when the associated Entity contains a limited number of members.
To make a selection on a Horizontal list Selector, simply click on the desired Entity members. Selected members are highlighted with a blue underline (unless configured otherwise).
The selection is applied as soon as you click on each member: clicking on a new member will immediately update the data displayed by all other Objects on the Screen to reflect the current selection.
To reset the selection to the default state, click the reset selection icon (![]() ).
).
To reset the selection of multiple Selectors to the default state, you will need to click the reset selection icon (![]() ) on each of them.
) on each of them.
To clear the selection on all Objects on the Screen, including Selectors, open the Screen select window by clicking the Select icon ( ![]() ) in the Top Menu and click on the "RESET ALL" button in the lower left corner.
) in the Top Menu and click on the "RESET ALL" button in the lower left corner.
Learn more about: