Screen Action group
This topic describes the Procedure Actions included in the Screen Action group and their specific properties.
The Screen Action group offers the following steps:
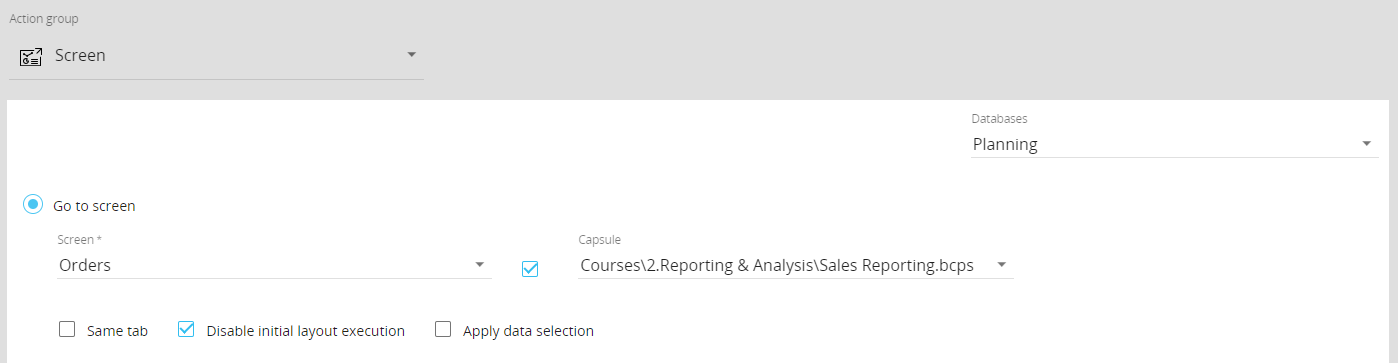
- Go to screen (available only for Capsule Procedures). This step opens a specific Screen and closes the current one (if the "Same tab" checkbox is ticked). You can select the desired Screen of the current Capsule from the "Screen" dropdown menu. To choose a Screen of another Capsule in the Platform, tick the checkbox between the two dropdown menus, select the desired Capsule from the "Capsule" dropdown menu, and then select the desired Screen from the "Screen" dropdown menu.
The "Disable initial layout execution" option prevents Layouts from being executed when the target Screen is opened. The "Apply data selection" option applies the currently active Selection to the target Screen. Selections from Pagers are transferred as fixed selections (Screen selection) if those Pagers do not exist on the destination Screen
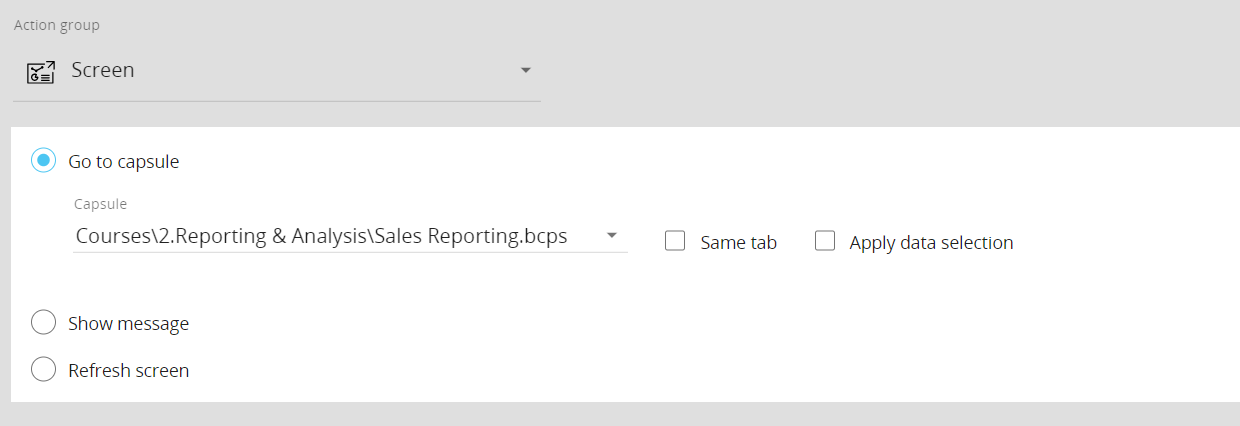
- Go to capsule. This step opens a specific Capsule (the Home Screen) and closes the current one (if the "Same tab" checkbox is ticked). To configure this step, select the target Capsule name from the dropdown menu, The "Apply data selection" option applies the currently active Selection to the target Capsule. Selections from Pagers are transferred as fixed selections (Screen selection) if those Pagers do not exist on the destination Capsule
- Show message. This step displays a message box at the top of the page or a notification popup. You can select an icon for the message and a "Yes/No" option is available to allow a user input: in this case you can also define how the Procedure should proceed based on the answer of the user.
Enable the "Get back" option to force the execution flow to return to the calling point after the last action of the Group is completed. If this option is disabled, the Procedure will terminate when the last action of the group is completed
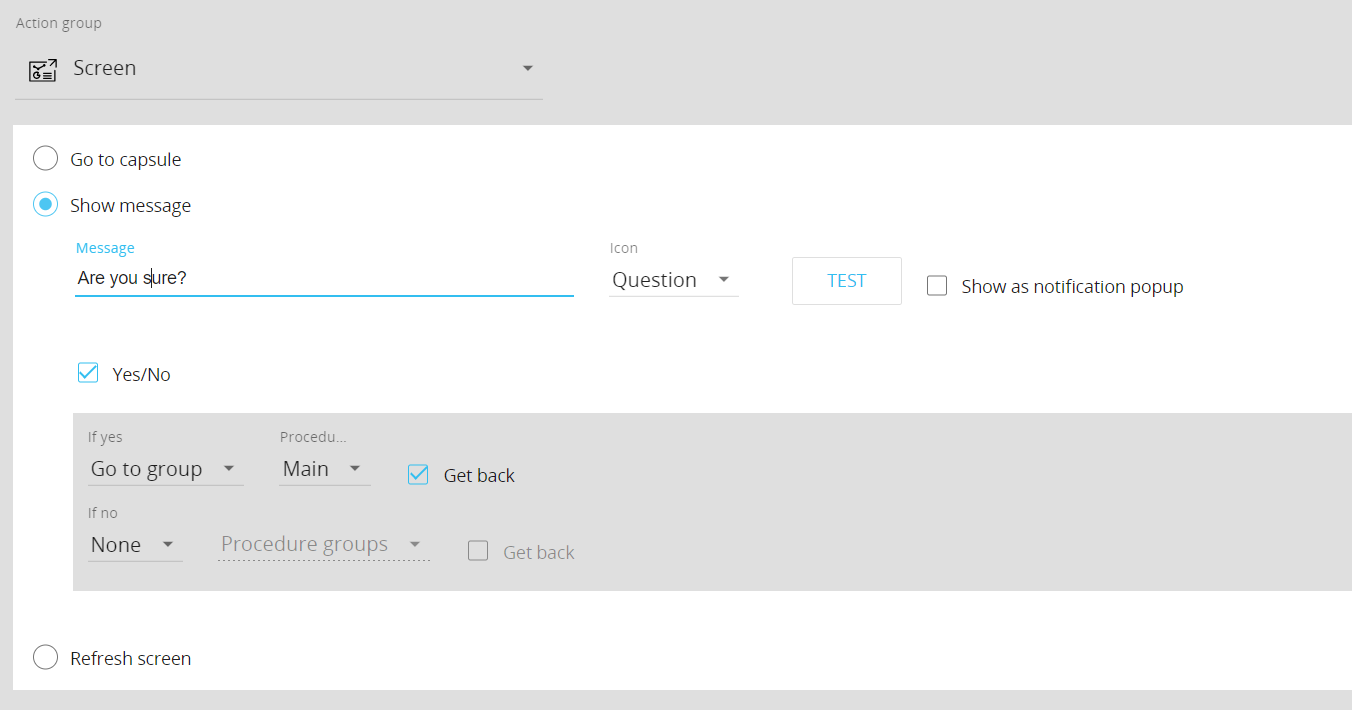
This step also supports Substitution formulas and Metadata variables in the “Message” field.
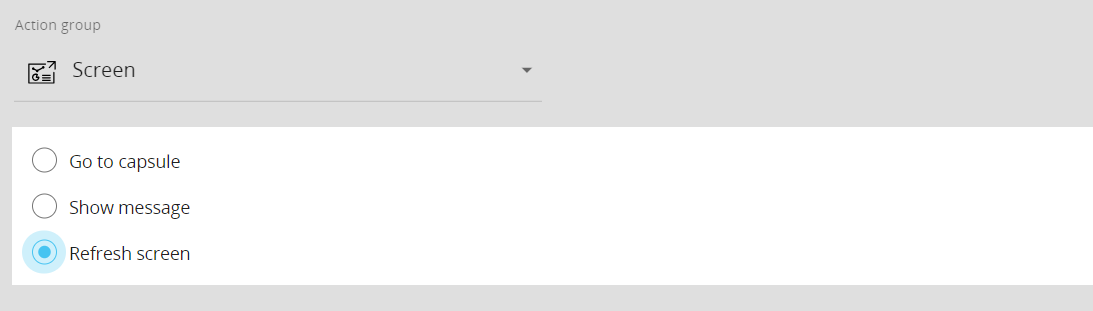
- Refresh screen. This step refreshes all the data of the currently open Screen: all Layouts are re-executed.
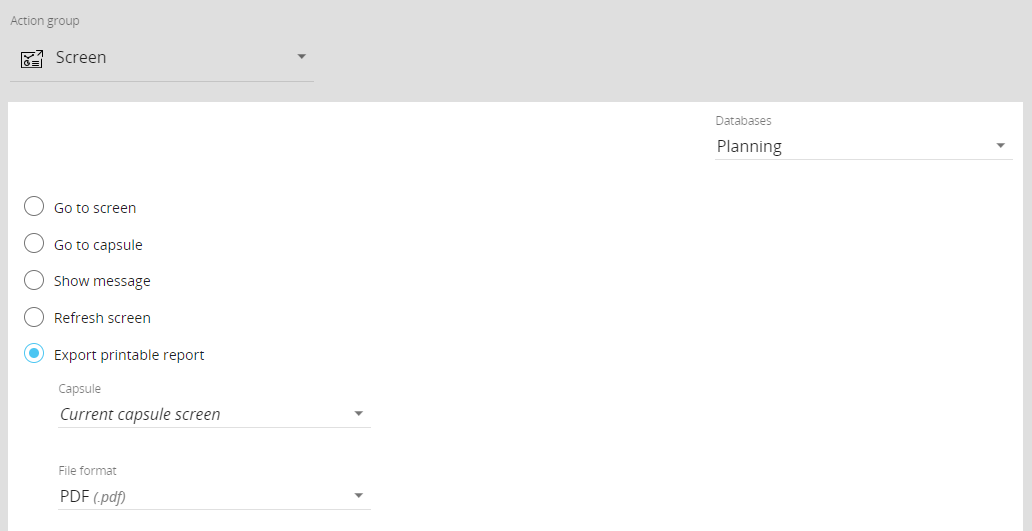
- Export printable report (available only for Capsule Procedures). This step allows you to export a specific Screen based on a previously configured print template saved in the Screen.
You can export the Screen in one of the following formats:- Word. Creates a .docx document to be opened with Microsoft Word (version 2007 and newer) containing the selected Screen Objects
- PowerPoint. Creates a .pptx document to be opened with Microsoft PowerPoint (version 2007 and newer) containing the selected Screen Objects
- Screenshot (.png file)
To configure the step, choose a Screen from the "Capsule" menu (the Current capsule screen option will export a printable report of the Screen the end user is viewing when the step is executed), then choose the export file format.
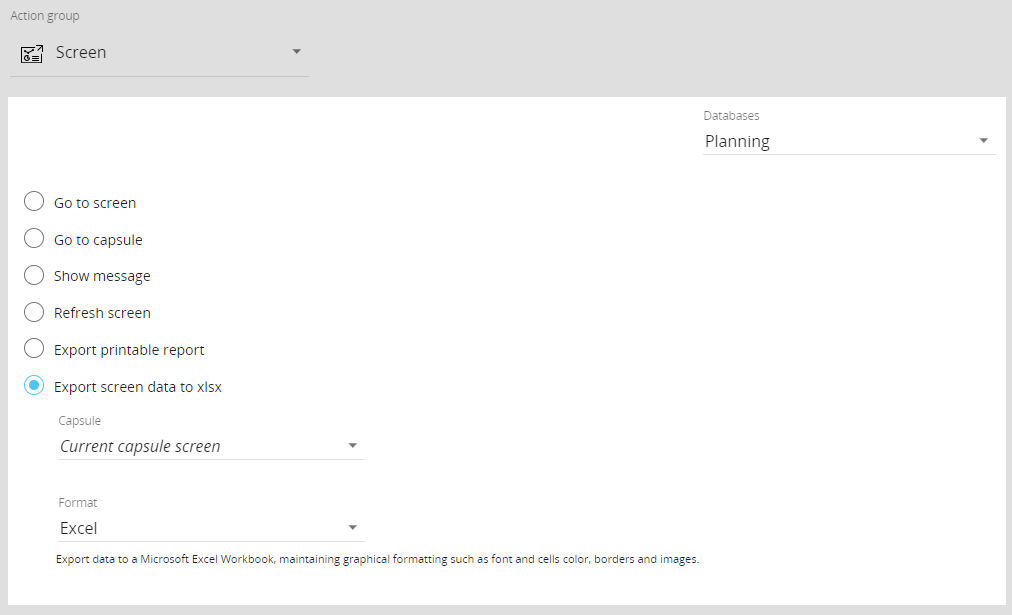
- Export screen data to xlsx (available only for Capsule Procedures). This step allows you to export all Screen Objects defined by a Layout from a specific Screen to a Microsoft Excel Workbook where data of each Object is placed on a different sheet.
You can export the Screen in one of the following formats:- Excel. This option exports data from all Objects defined by a Layout in the Screen to a Microsoft Excel file (.xlsx). Graphical formatting, such as font and cells color, borders and images, is preserved
- Excel for BOARD Add-in. This option exports data to a Microsoft Excel Workbook supporting Board Add-in functions such as change Select filters, drill-down, refresh or change data. Results of formulas configured in Layouts are exported as numeric values
- Excel for BOARD Add-in with Formulas. This option exports data to a Microsoft Excel Workbook supporting Board Add-in functions such as change Select filters, drill-down, refresh or change data. Formulas configured in Layouts are also exported as Excel formula and are used for calculated blocks, column totals and row totals in the Workbook
- Excel for BOARD Add-in Flatten Mode. This option exports data to a Microsoft Excel Workbook supporting Board Add-in functions in a flat table format. This is useful in case Layouts in the source Screen have two or more entities set By Row.
To configure the step, choose a Screen from the "Capsule" menu (the Current capsule screen option will export the Objects in the Screen the end user is viewing when the step is executed), then choose the export file format.
In the case of a Capsule Procedure, a Data model drop-down menu on the upper right corner allows you to select the Data model on which the Procedure step will be executed, except in cases where the Procedure step has specific options that act on other Data models (for example, the "Save Pending Changes to Disk" step in the "Advanced Action Group" can be configured to act on all Data models or only on the Data model where the Procedure resides).