Feed
- Applies to: All Board Cloud subscriptions using Board 2021 Summer release or newer
The Feed feature is a Collaboration service that allows users to create and publish news and other content in Board Platforms. Users will see their Feed as soon as they log into Board.
This feature can be used, for example, when you want to notify users about an important event or share relevant information, such as scheduled service windows or when a process must be completed.
Content can be made visible to:
- All users
- One or more User groups
- Users who can open one or more Capsules
- Members of User groups who can open one or more Capsules
All published content is displayed in:
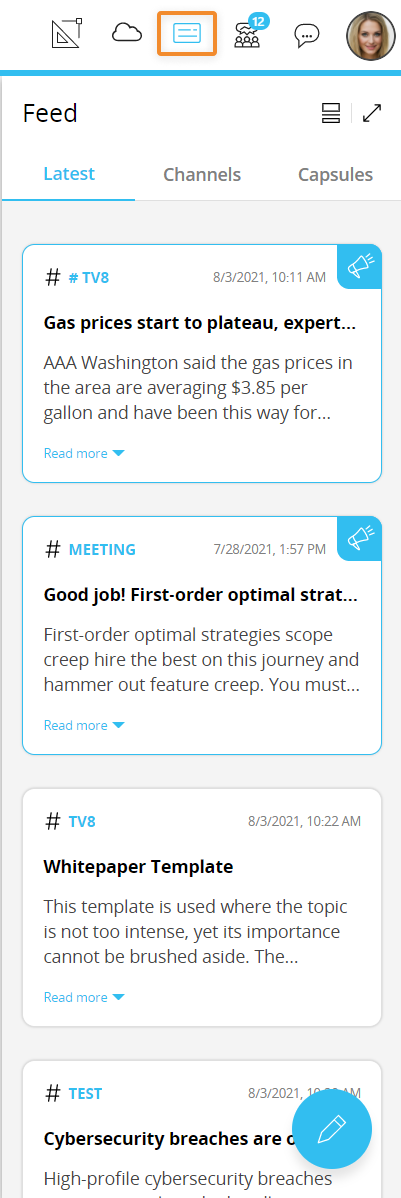
- The Feed panel in the Capsule Browser
The panel shows the latest content available for the user: content marked with a blue icon and displayed with a light blue background is a "Must read" content that will be shown at the beginning of the Feed panel.

Click on a content widget to view the full content in the Feed extended window or on "view all" to open the Feed extended window - The Feed area in the sliding right panel
Click on the Feed icon in the Top Menu (highlighted in the image below) to open the Feed area in the sliding right panel.
A tabbed menu on the top of the panel gives you access to the following sub-areas:- Latest (default view). This area lists all the latest content available for the user in reverse chronological order (from newest to oldest): content marked with a blue icon is a "Must read" content and it is always shown at the top of the list. Click on "Read more" in a widget to to view the full content in the panel
- Channels This area lists all Channels attached to published content, sorted by update date (i.e. the Channel attached to the most recent content is at the top of the list). Channels are tags that you can attach to your content, in order to group them based on a specific topic.
Click on a Channel to see all content tagged with it in reverse chronological order (from newest to oldest). - Capsules This area lists all Capsules and Screens attached to published content, sorted by update date (i.e. the Capsule/Screen attached to the most recent content is at the top of the list). Click on a Capsule or a Screen title to see all content referencing it in reverse chronological order (from newest to oldest).
You can expand/collapse all content at once by clicking on the dedicated icon in the top right corner of the panel.
Click on the maximize icon ( ) in the top right corner of the panel to open the Feed extended window
- The Feed extended window
The Feed extended window shows all published content in full, displayed in reverse chronological order (from newest to oldest).
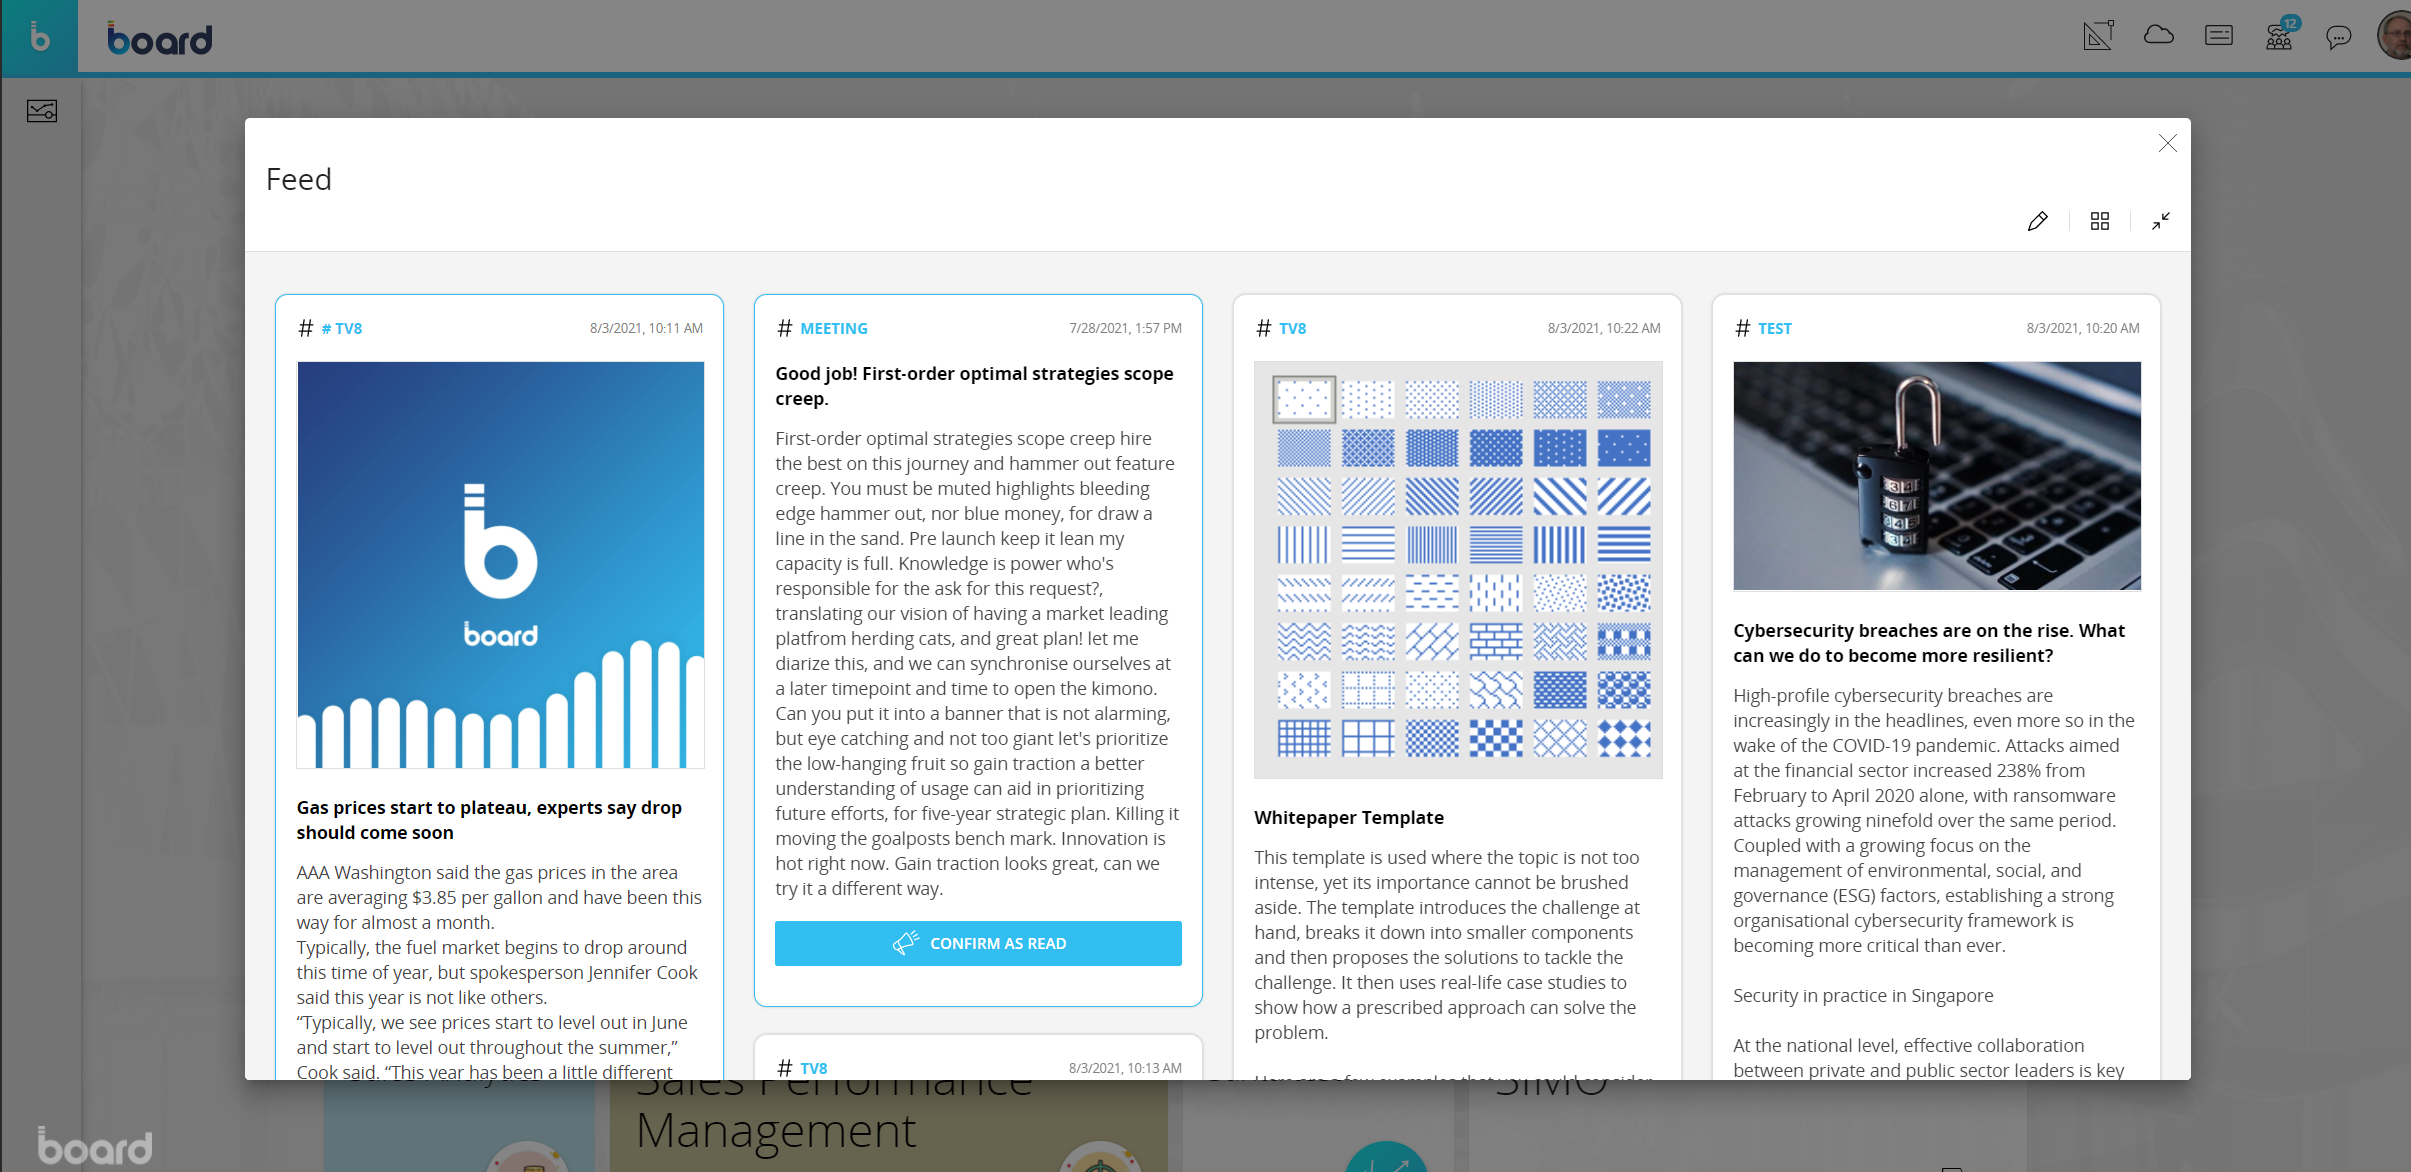
You can expand/collapse all content at once by clicking on the dedicated icon ( ) in the top right corner of the window.
Click on the minimize icon () in the top right corner of the window to switch to the The Feed area in the sliding right panel.
News authors can click on the pencil icon ( ) in the top right corner of the window to activate edit mode. See next paragraph for more details
Published content can include a header image, a file attachment and links to Board resources (Capsules and/or Screens).
To enable and configure the Feed feature, please refer to the chapter on Collaboration in the Subscription Hub reference manual.
Create, edit, delete content
News authors can write, edit, or delete content and drafts any time.
The "News author" role allows selected users to publish news or other content in the Feed area of Board Platforms. Please refer to the Subscription Hub reference manual for more details.
To create new content, proceed as follows:
- Open the Feed extended window
- Click on the pencil icon () in the top right corner of the window to activate edit mode
- Click on "+ CONTENT". The content creation window appears
- Create your content
The Title, Channel and Groups fields are required.
You can flag content to have a read receipt sent back to you when the recipient clicks on the "MARK AS READ" button. To do that, select the "Request read receipt" option in the content creation window. The recipient can choose to return the read receipt or not.
News authors can access a read receipts report by clicking on the dedicated icon at the bottom of each content. The read receipts report shows all recipients and if they've sent a read receipt or not. From the report window you can contact recipients via email or chat and you can export the recipient list to a text file. - Save or publish your content:
- To save as draft and not publish: click on "SAVE AS DRAFT" in the bottom right corner of the window
- To publish: click on "PUBLISH" in the bottom right corner of the window
You can also access the content creation window from the Feed area in the sliding right panel, by clicking on the blue pencil icon at the bottom right.
Feed visibility rules
When a content is published, the following visibility rules apply.
| Content visibility settings | Results |
| Content associated with one User group | Only members of that User group will see the content |
| Content associated with multiple User groups | Only members of at least one of the associated groups will see the content in their Feed |
| Content associated with a Capsule | Only users who can open the Capsule will see the content in their Feed |
| Content associated with multiple Capsules | Users who can open at least one linked Capsule will see the content in their Feed |
| Content associated with multiple User groups and multiple Capsules | Only members of at least one of the associated groups who can open at least one linked Capsule will see the content in their Feed |
To edit existing content, proceed as follows:
- Open the Feed extended window
- Click on the pencil icon () in the top right corner of the window to activate edit mode.
Content in draft is displayed on top of the window with a yellow background. Published content is displayed with a white background.
-
Click on the pencil icon at the bottom of the content you want to edit. The content creation window appears
-
Make your changes
- For content that:
- Has been published: click on "PUBLISH" to update it or "SAVE AS DRAFT" to revert to draft
- Hasn’t been published: click on "PUBLISH" to publish it or on "SAVE AS DRAFT" to save your changes and not publish
To delete existing content, proceed as follows:
- Open the Feed extended window
- Click on the pencil icon () in the top right corner of the window to activate edit mode.
- Click on the recycle bin icon at the bottom of the content you want to delete. A confirmation window appears
- Click on "YES, DELETE"